This article is a step-by-step tutorial on how to host a static website with S3. I will use Adrian Cantrill’s demo files as the website’s content. So, if you enjoy this blog, check out his courses too!
Prerequisites:
- Create the AWS Account that you would like to host the website on
Creating an S3 Bucket
The first thing we need to do is to create an S3 bucket. To do that, follow these steps:
Go to S3 management console
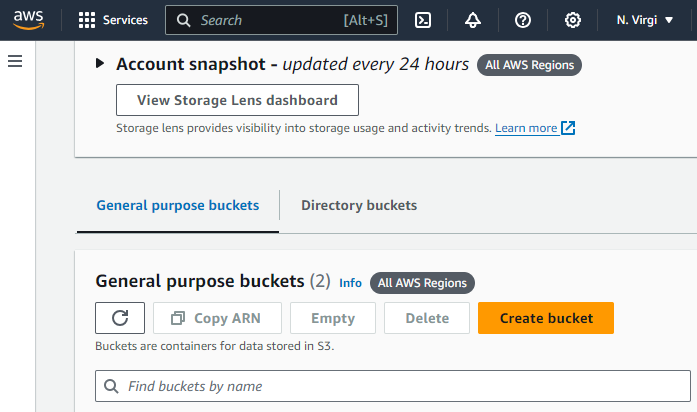
Click “Create bucket”
Name the bucket whatever you like (as long as the name is globally unique), and make sure to disable the “Block all public access” button.
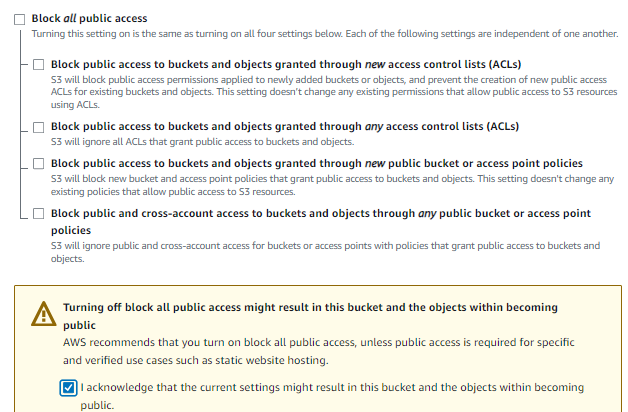
Although it is usually advised not to allow public access to S3 buckets, since we are creating a static website, we want our website to be available to the public.
Finally, click “Create bucket” at the end.
Setting up Static Website Hosting
Now that we have created our bucket click on the bucket and go to the properties tab.

Once there, scroll down until you see “Static Website Hosting,” and click “Edit.”

In this page, select “Enable” for the “Static website hosting” button, and add the following inputs into the index and error document boxes:
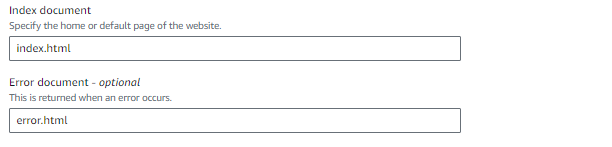
Lastly, click “Save Changes.”
Now that we enabled static website hosting, make sure to copy the URL of your website into your clipboard since that will be useful in later steps.
Uploading Objects to the Bucket
This section’s objective is to upload some objects, aka our pictures, for our website to use.
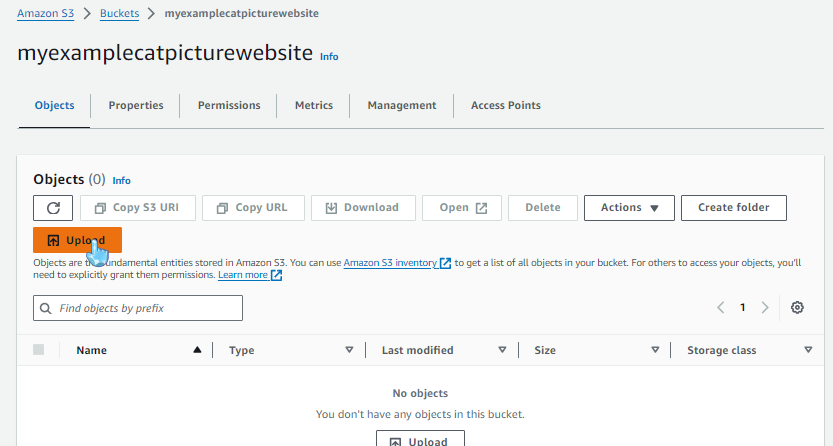
Move from the “Properties” tab to the “Objects” tab and click on “Upload”
Here is the link for the demo files I will be using to upload objects into the bucket (Again, thank you to Adrian Cantrill since these are his demo files from his course, so check out his courses if you want to learn more about AWS).
Now, extract all of the contents within the zip file by going to where the file is located and right-clicking to get the “Extract All…” option.

After the extraction, click “Add files” in AWS and go to the “static_website_hosting” folder. Select the “index.html” and “error.html” files in this folder.
Then, click on “Add folder” and select the “Img” folder.
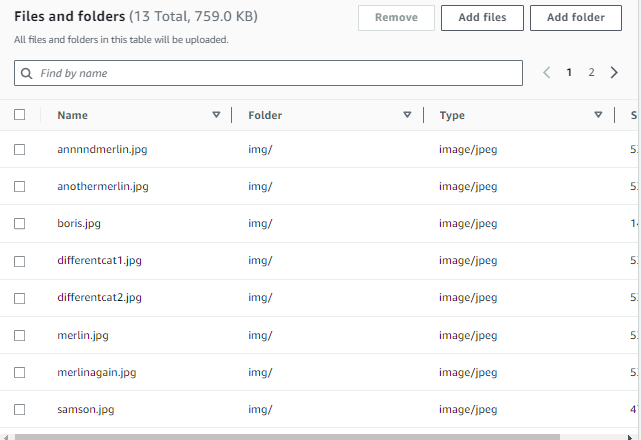
Your bucket should now have 13 objects in total (note that some of the objects were cut out from the image below):
To officially upload these objects to the bucket, click “Upload” at the bottom of the page and click “close” at the top right.
Adding Bucket Policy
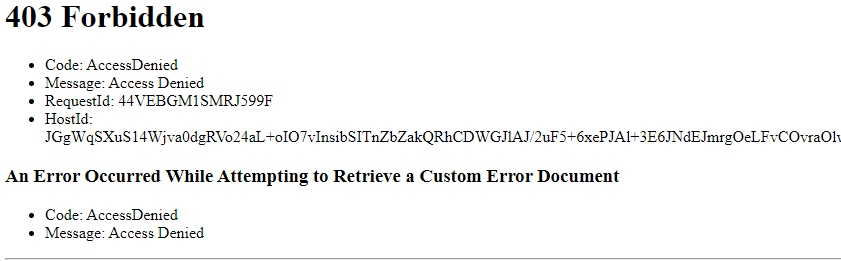
Although we have uploaded the objects needed for our website and made it accessible to the public, we must add a bucket policy to access the website. Otherwise, we will get this error when pasting the URL into the search bar:
Move from the “Objects” tab to the “Permissions” tab and click “Edit” in the “Edit Bucket Policy section.

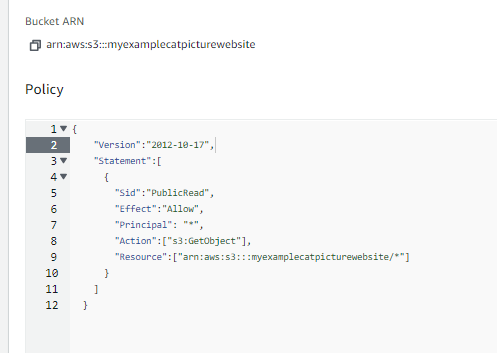
Copy the code inside the “bucket_policy.json” file found in the “static_website_hosting” folder we extracted earlier. Paste it into the “Policy” section like so:
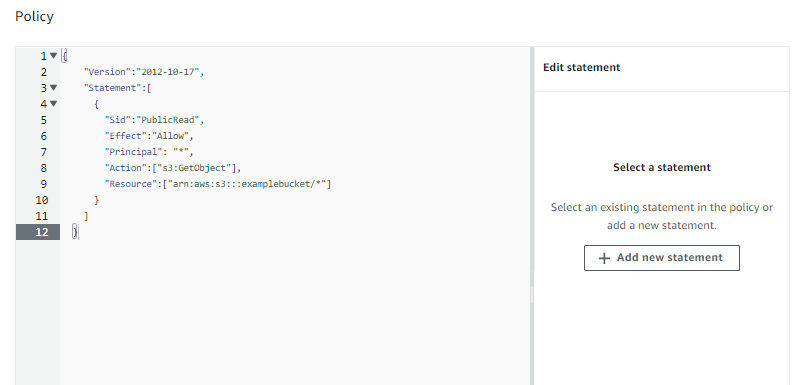
Replace the generic ARN with the “Bucket ARN” above the “Policy” section. However, keep the “/*” at the end since that refers to the objects in the bucket.
Click “save changes” to confirm your edits.
Click “save changes” to confirm your edits.
This bucket policy allows all users (even unauthenticated ones) to access the objects within our bucket. Therefore, we will no longer get the “403 Forbidden” error.
Browsing our site
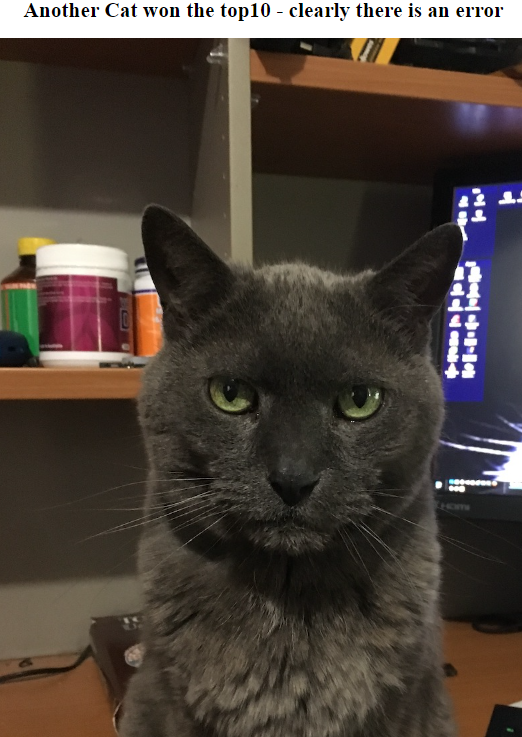
Suppose we pass the URL obtained from the “static website hosting” section in the “Properties” tab. In that case, we will be greeted with Adrian’s unbiased list of best animal pictures!

When we paste the URL into the search bar, we look at the “index.html” page. However, what happens if we try to access a page that does not exist on our site? Try adding “/wow.html” to the end of your URL to see what happens!
Interesting! Our website seems to have a different page whenever non-existent objects are requested. Remember when we added the “error.html” file to our bucket earlier? This is precisely what it is used for.
You can even access the individual images uploaded to the bucket by right-clicking on one of them and clicking “open image in new tab.” This proves that these images are just objects that are accessed from the bucket that we created
Cleaning Up
If you followed this article to simply learn how to host a static site on S3 and want to remove it, follow these steps:
Select the bucket you created in the S3 console and click on “empty” and confirm
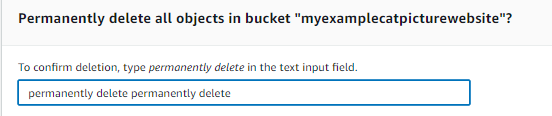
Then, go back to the S3 console, and completely delete the bucket.

That’s it. Everything is cleaned up!
The Tip of the Iceberg
This demonstration of how to create a static website using S3 was just a very, very small example of what you can do using Amazon’s S3 service. Of course, feel free to use your own files instead of the provided demo files. You can even register your own domain using Route53 to have a more user-friendly and recognizable URL! If you would like to learn more about static website hosting using S3, here are some useful sites:
Hosting a static website using Amazon S3 (documented by AWS)