In the modern age, it is crucial for a penetration tester to be comfortable with Burp Suite. This blog will cover the fundamentals of the web application framework. Although this blog will provide you the information for you to understand the basics, it is also important for you to experiment with everything so you are more familiar with it. Additionally, I will be providing a walkthrough of the hands-on exercises found in TryHackMe’s Burp Suite: The Basics room.
What is Burp Suite?
Burp Suite is a framework written by Java that aims to provide all the tools necessary for web application penetration testing. Burp Suite is also used when assessing mobile applications because many of the features that work well in the web app testing translates smoothly to the Application Programming Interfaces (APIs) that power most mobile applications. Burp Suite allows a user to view and modify any packets captured between the attacker and a web server.
Burp Suite features
Burp Suite has three different versions: Community, professional, and enterprise. This blog will be focusing on the features contained in the community version as it is free. Some of these features are:
- PROXY: allows user to intercept and modify requests/responses when interacting with web applications
- REPEATER: allows user to modify request and then send it over numerous of time
- DECODER: decodes captured information
Burp Suite Installation
Installing Burp Suite is a very simple process thanks to PortSwigger’s Burp Suite Downloads page.
Burp Suite Dashboard & Navigation
The Burp Suite dashboard is split up into four quadrants: tasks, event log, Issue activity (pro only), and advisory.
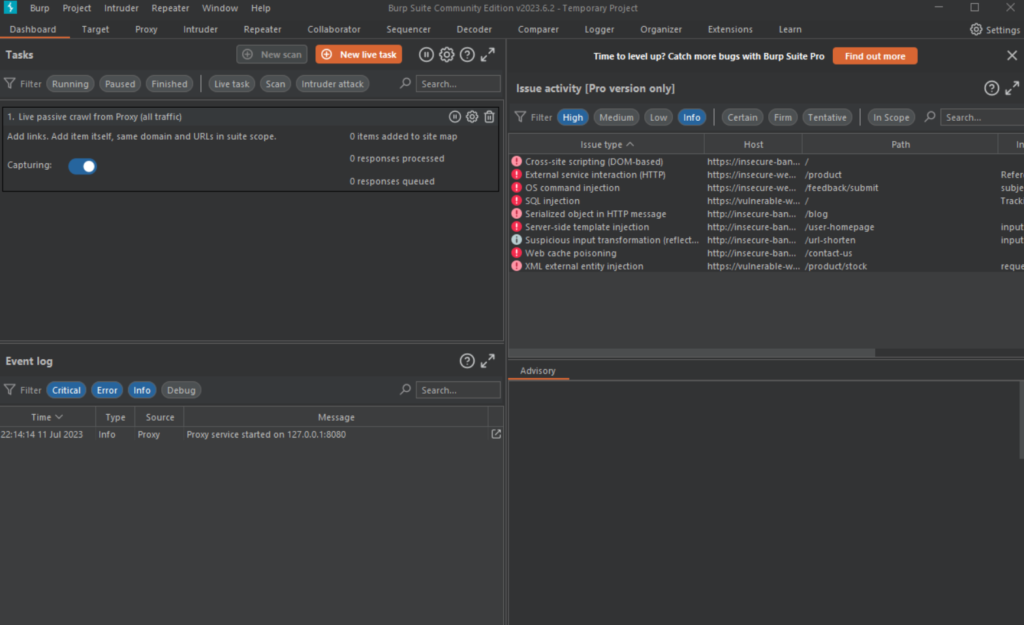
- Task Menu: background tasks run by Burp Suite whilst using the application
- Event Log: Tells user what Burp Suite is doing as well as information about connections made through Burp
- Issue Activity: This section is exclusive to the professional version of Burp Suite. It lists all vulnerabilities found by automated scanner.
- Advisory: Gives more information about vulnerabilities found as well as recommendations to fix them.
Navigation
Navigating in Burp Suite is straightforward because of the top menu bar, which displays all of the modules in the app.

If you would like to detach one of the tabs, click on “Window” in the very top menu and detaching whichever tab you would like.
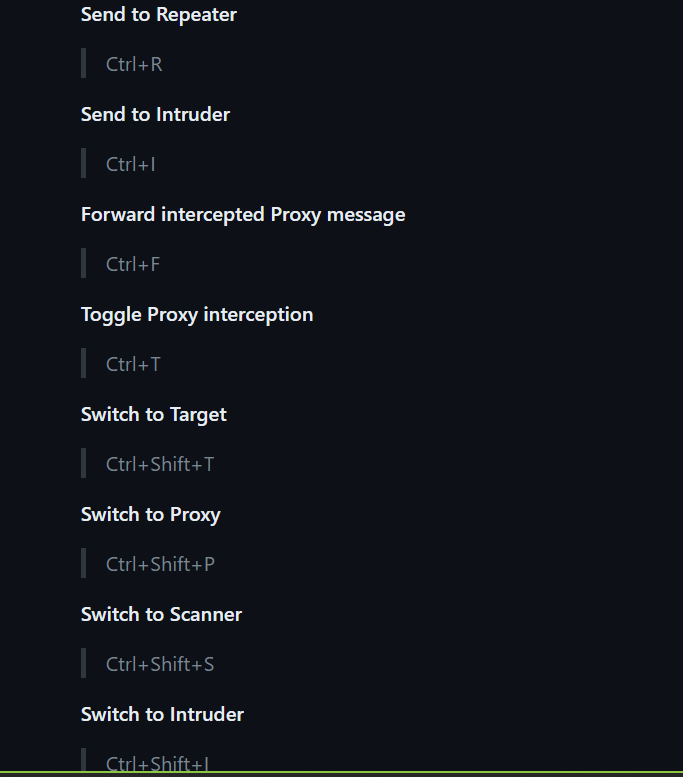
If you would like to use some shortcuts to allow for faster navigation, check out this cheat sheet made by user Kakumanivrn on Github.
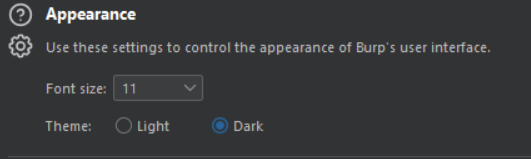
Lastly, Burp Suite has many different options which can be changed by the user in the settings. There are two types of settings: user settings and project settings. The user settings will impact the application as a whole and will be set each time the user uses the application. However, the project settings are unique to that project.
For example, if you wanted to change the theme of Burp Suite from light to dark, you would change it by going to: settings > User Interface > Display > Dark.
Introduction to Burp Browser
The Burp Proxy is the most fundamental and important tool in Bur Suite. it allows us to capture and edit HTTP requests and responses between us and the target. They can be further manipulated by other tools in Burp Suite before being sent to their destination. I will demonstrate the functionality of this tool with an example below:
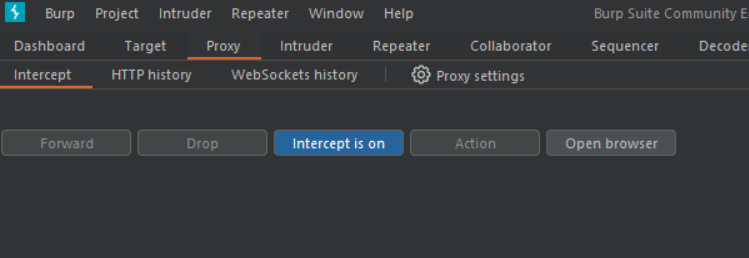
- Access the Proxy tool by going to Proxy> Intercept like below:
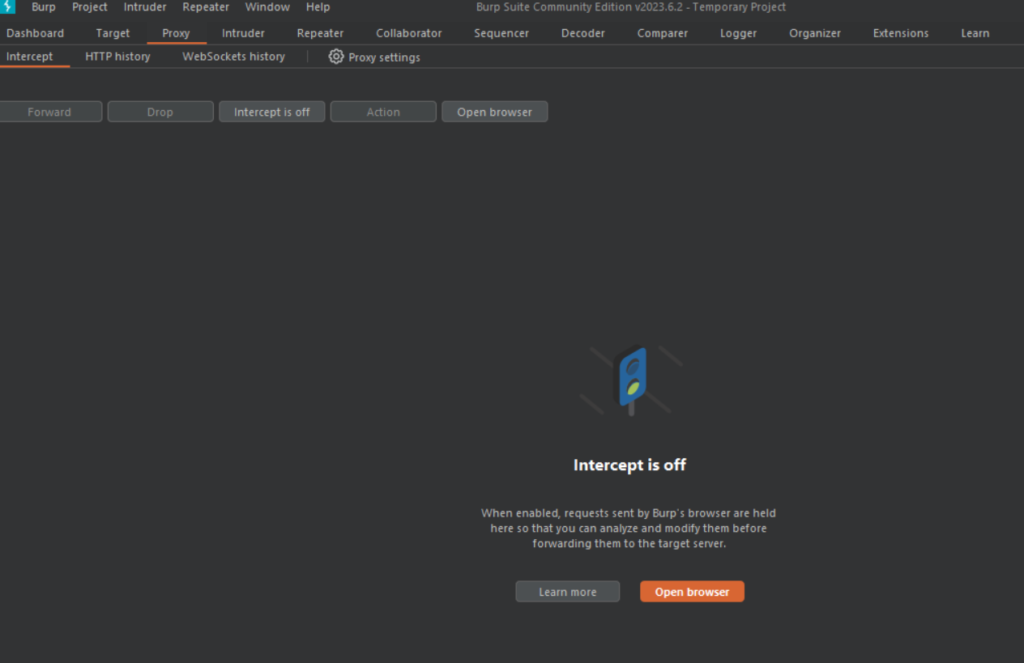
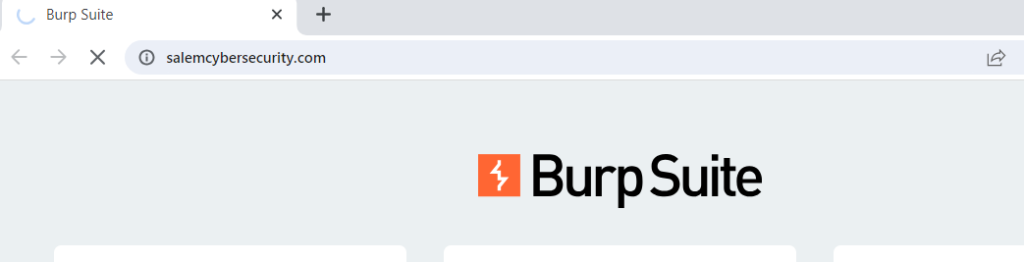
2. Turn the Intercept on and click Open browser and type in any website you would like. For this example, I will be using “salemcybersecurity.com” (you will notice that the site is not loading)
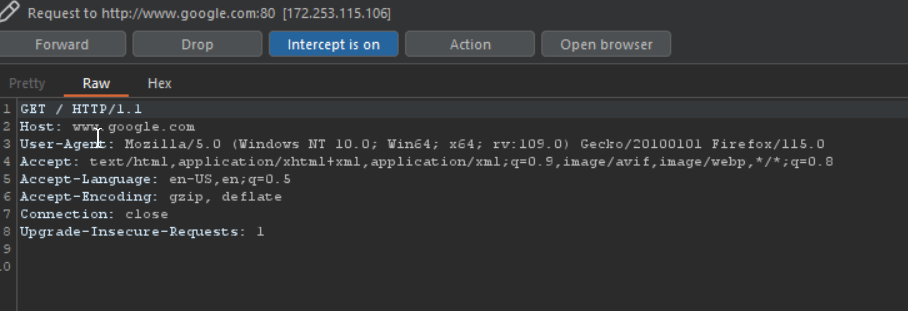
3. When you go back to Burp Suite, you will see that your request was captured by it:
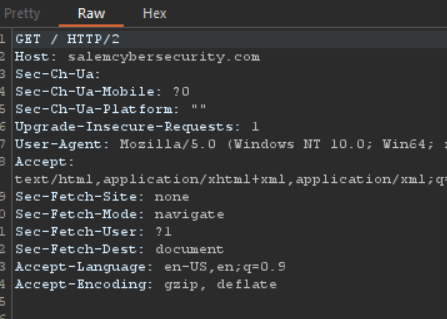
It’s that simple! Now with the request captured, you can either forward or drop this request. Like mentioned previously, this request can also be edited by other tools before being sent to its destination!
Additional note: It is also worth noting that requests made with the intercept off will still be captured by Burp Suite. These requests can be found in the “HTTP History” tab and can be edited by other tools as well.
Another cool feature of the Burp Suite proxy is in request and response rules found in the “proxy settings”
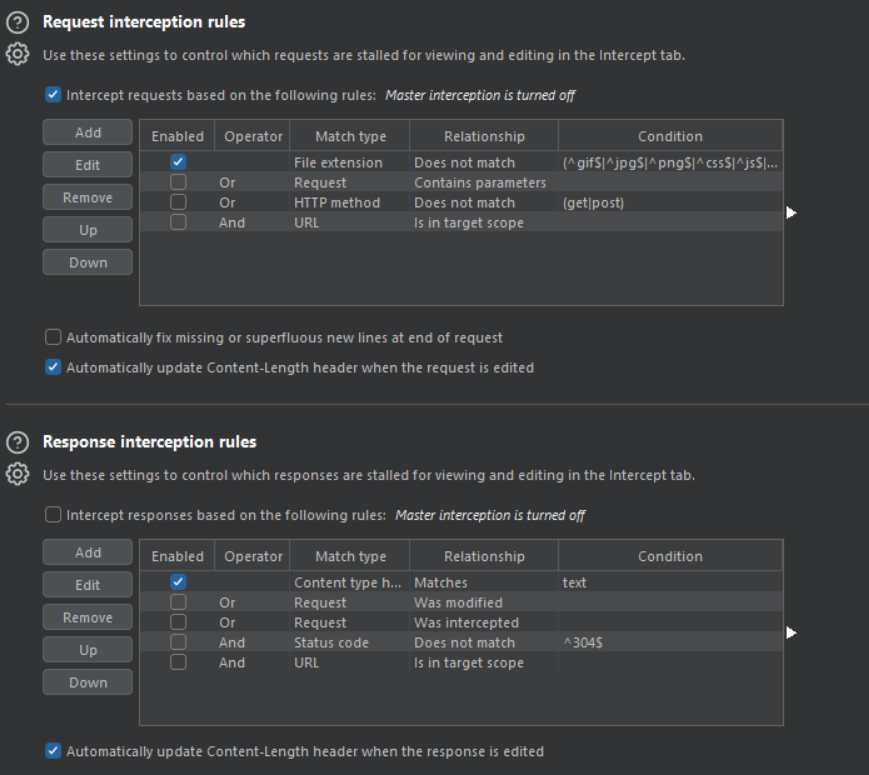
By customizing these rules, you can dictate which requests/responses will be captured by the intercept.
Installing FoxyProxy
For Burp Suite to work, it needs to redirect all of our browser traffic to the port 127.0.0.1:8080 (port for Burp Proxy). We can do this by using a Firefox browser extension called FoxyProxy. FoxyProxy allows use to switch to our Burp Suite profile in just a few clicks.
Once you have installed the FoxyProxy extension and opened it up, you should be seeing this screen:
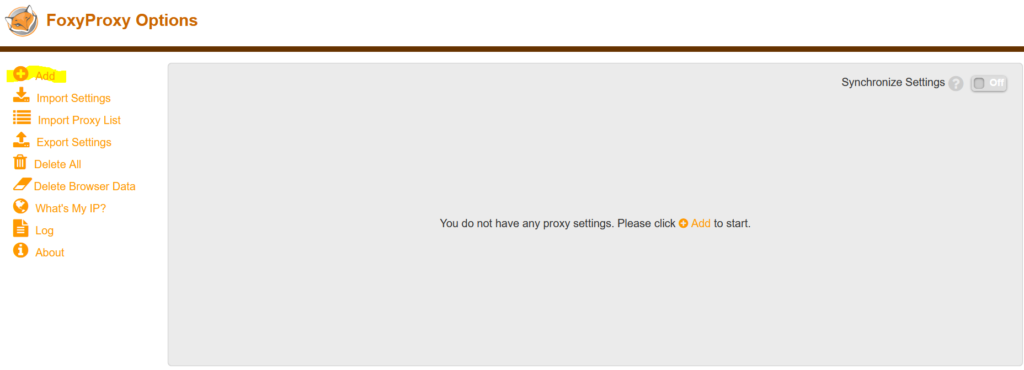
Click on the “Add” button put put in the following values:
Title: Whatever you would like to name it (Burp etc.)
Proxy IP: 127.0.0.1
Port: 8080
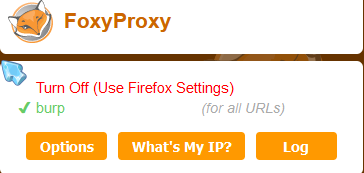
Now, click on the FoxyProxy logo on the top right of your screen and turn it to green.
Now, turn intercept on in Burp Suite and type in a website in your firefox browser:

Proxying HTTPS
Something you’ll notice very quickly is that we are unable to visit HTTPS websites on firefox. If you want to be able to test those sites, we need to fix that.
- Go to http://burpsuite
- download and save the certificate
- Go to about:preferences and search up “certificates” on the search bar
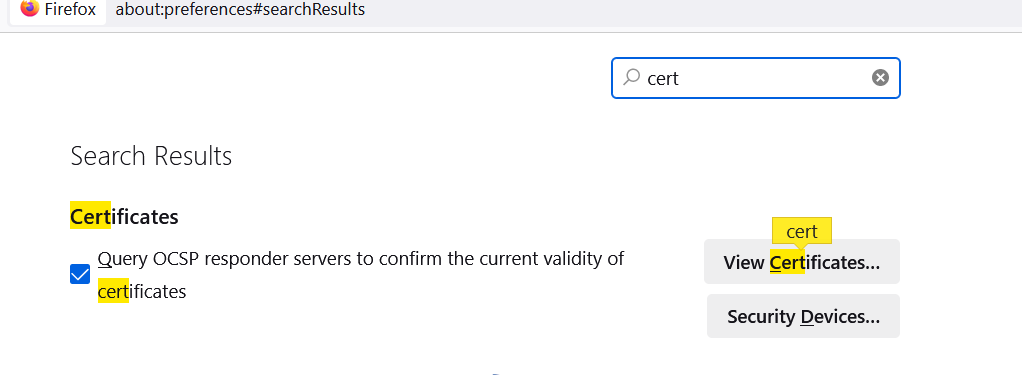
4. Click “view certificates” and import the downloaded certificate
5.Now, we should be able to view HTTPS websites on Firefox!
*NOTE: IF YOU ARE USING ESET ON YOUR PERSONAL DEVICE, MAKE SURE TO FOLLOW THE STEPS ON THIS FORUM FOR BURP SUITE TO WORK WITH HTTPS!!*
Burp Suite Browser
If all those modifications seem like too much for you, you’ll be happy to know that Burp Suite has their own web browser for user’s to test. However, you should take into account that using your own regular web browser provides much greater customizability. If that is not an issue with you, then feel free to use it in the “intercept” sub-tab under the “proxy” tab.

Scoping
Scoping is another crucial part of Burp Suite as it ensures our log history remains clean and organized. The “scope” feature allows users to display logs of online the websites they are targeting. That way, the logs of other sites do not make it difficult to look for the information they need.
To adjust your scope:
1.Go to the “target” tab next to proxy
2. Select the site you would like to focus on from the left-hand menu
3. Click “Add to scope” and then “yes”
Site Map and Issue Definition
In addition to the scope settings, the target tab has two additional sub-tabs: site map and issue definition:
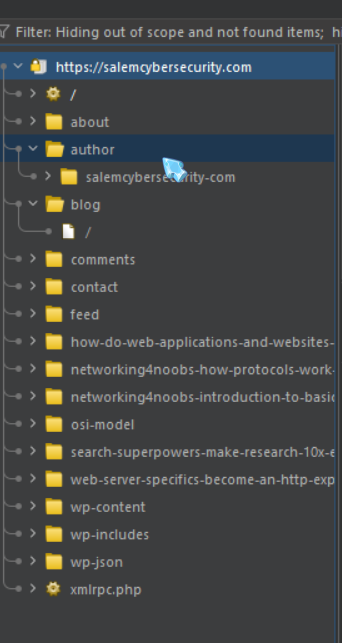
- SITE MAP: The Site map displays all of the apps we are targeting in a tree structure. It will display every page visited by the user and create a site map just by browsing the site.
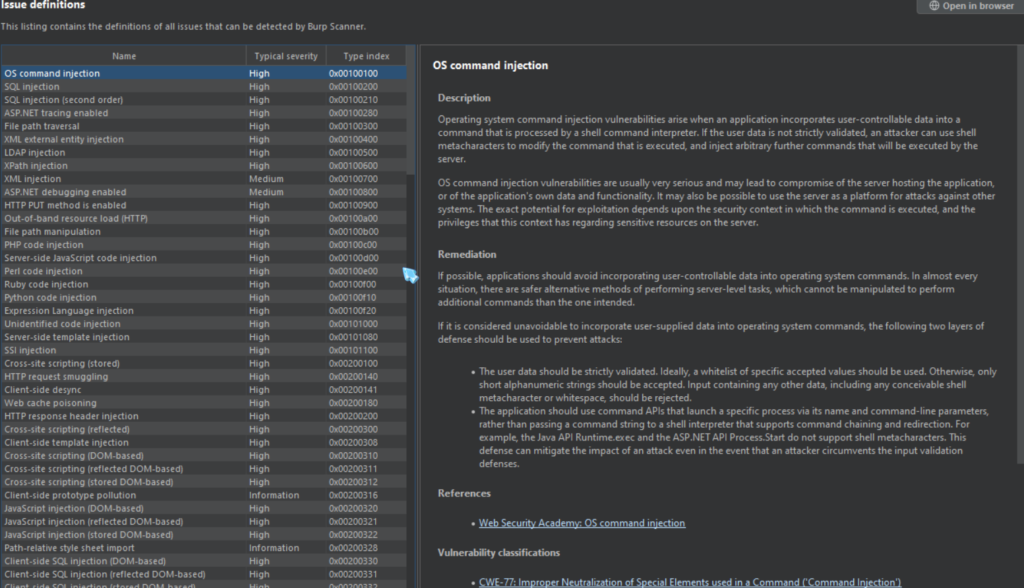
- ISSUE DEFINITIONS: This sub-tab provides a list of all the potential web vulnerabilities which the Burp Suite vulnerability scanner looks for. Although Burp Suite community members are unable to use the scanner, this page can be useful if you need to cite something for a report or define a vulnerability.
Conclusion
I hope you enjoyed this Burp Suite basics blog and learned something from it! If the content in this blog seems a bit overwhelming or you would like some hands-on experience with Burp Suite, I would highly recommend checking out this room made by TryHackMe (specifically Task 14). If you would like to get a deeper understanding of how the HTTP protocol actually works so the use of Burp Suite makes more sense, check out this blog!